django-carrot monitor
django-carrot monitor
Introduction
django-carrot provides a simple interface for managing carrot.models.MessageLog and
carrot.models.ScheduledTask objects, known as the django-carrot monitor. This interface offers the
following functionality:
- Monitoring of tasks currently in the queue
- Viewing the log and traceback of failed tasks, and deleting/requeuing them
- Viewing the log for tasks that have completed successfully
- Allows users to view, edit and create scheduled tasks
- On demand publishing of scheduled tasks
For each task, the monitor displays:
- Basic information about the task, e.g. the virtualhost and queue it has been published to, the priority, and the dates/times it was published/completed/failed
- The arguments and keyword arguments the task was called with
- Where applicable, the task log, output and error traceback information
Configuration
To enable the django-carrot monitor, simply add the URLs to your project’s main urls.py file:
urlpatterns = [
    ...
    url(r'^django-carrot/', include('django-carrot.urls')),
]
You will now be able to see the monitor at the path you have specified, eg: http://localhost:8000/carrot/
In order to create scheduled tasks using django-carrot monitor, it is also recommended that you specify your task modules in your Django project’s settings module. This is done as follows:
CARROT = {
    ...
    'task_modules': ['my_app.my_tasks_module'],
}
Authentication
By default, the django-carrot monitor interface is public. However, you can set authentication decorators from your Django project’s settings module:
CARROT = {
    ...
    'monitor_authentication': ['django.contrib.auth.decorators.login_required'],
}
The above uses Django’s built it django.contrib.auth.decorators.login_required() decorator to ensure that all
users are logged in before attempting to access the monitor. You can also specify your own decorators here.
Usage
Once configured, the monitor can be access from the path /carrot, e.g. http://localhost:8000/carrot
The monitor has 4 tabbed views:
Queued tasks
This view shows all tasks that are currently in the queue and will be processed by the consumer. To see more details about a particular task, click on the relevant row in the list. You will be able to see more details about the task, including where/when it is/was published
Failed tasks
This view shows all tasks that have failed during processing, along with the full log up to the failure, and a full traceback of the issue. Failed tasks can either be requeued or deleted from the queue, either in bulk or individually
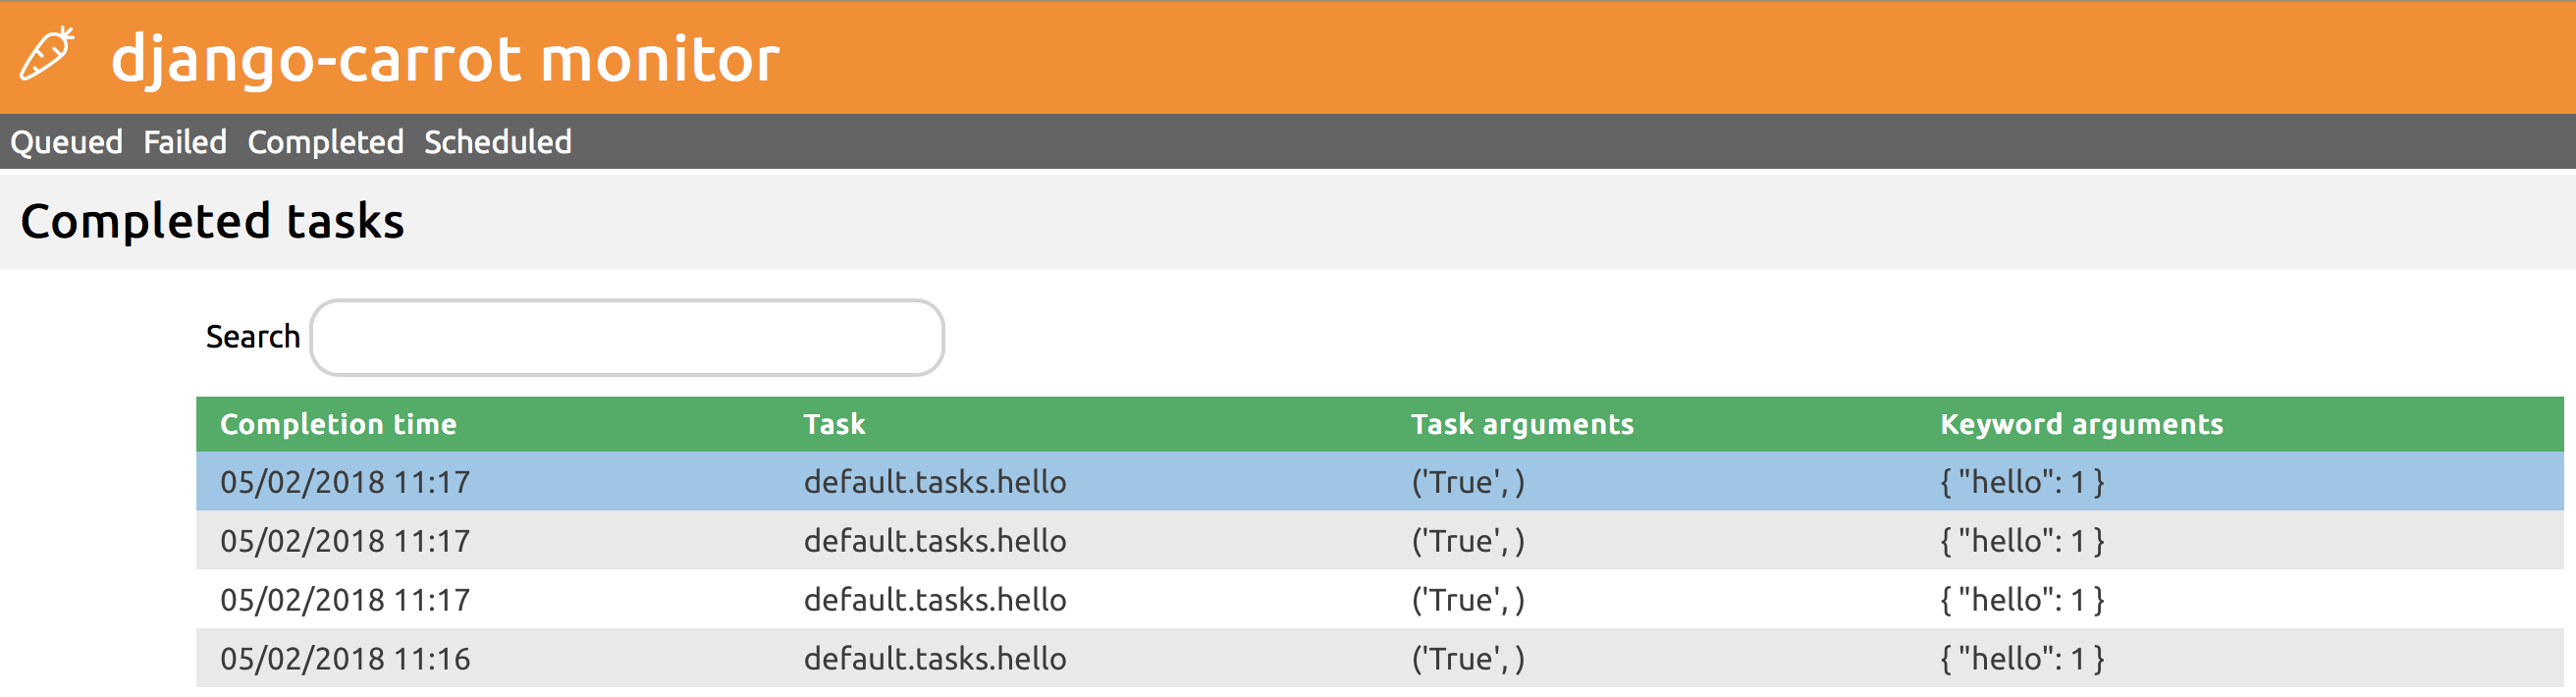
Completed tasks
Once tasks have been completed, they will appear in this section. At this point, the full log becomes available. You can use the drop down in the monitor to customize the level of visible logging.
Scheduled tasks
You can manage scheduled tasks in this view.
Use the Create new scheduled task button to schedule tasks to run at a given interval. The task, queue, interval type and interval count fields are mandatory. You can use the active slider to temporary prevent a scheduled task from running.
The positional arguments field must contain a valid list of python arguments. Here are some valid examples of input for this field:
True, 1, 'test', {'foo': 'bar'}
The keyword arguments field must contain valid json serializable content. For example:
{
    "parameter_1": true,
    "parameter_2": null,
    "parameter_3": ["list", "of", "things"],
    "parameter_4": {
        "more": "things"
    }
}
Warning
The keyword arguments input must be JSON, not a Python dict
Note
- All task lists are refreshed every 5 seconds, or when certain actions are performed, e.g. on task deletion/requeue
- Task logs are not available until a task completes or fails. This is because the task log only gets written to your Django project’s database at the end of the process
- New in 0.5.1: Scheduled tasks can now be run on demand by selecting the required task and clicking the Run now button